

Making a Custom GPT
Custom GPTs, a feature of OpenAI’s ChatGPT, enable users to tailor AI to specific needs or interests. These can range from simple language learning tools to complex technical support systems. OpenAI Plus and Enterprise users can build these custom GPTs.
Why Make a Custom GPT?
Custom GPTs can be incredibly versatile, catering to a wide range of specialized needs. For instance, imagine a language teacher wanting to enhance their students’ learning experience. They could create a custom GPT specifically designed for language tutoring. This GPT could be programmed to converse in the target language, offer grammar explanations, and provide custom exercises. It would be an interactive tool, capable of engaging students in dialogues, correcting their mistakes in real-time, and even adapting to each student’s proficiency level. Such a GPT could transform language learning, making it more interactive, personalized, and accessible.
In the business realm, a custom GPT could be developed as an innovative customer service assistant. This AI could be tailored to understand and respond to specific industry jargon, handle common customer queries, and even escalate complex issues to human representatives. It could integrate with a company’s database to provide real-time order updates, process returns, or offer personalized product recommendations based on customer history. This not only enhances the customer experience but also streamlines the workload on customer service teams, allowing them to focus on more complex tasks that require human intervention.
Step-by-Step Guide to Creating a Custom GPTs
Here is a quick guide on how to create a GPT in the ChatGPT builder. The interface and options may change.
Step 1: Log In to Your Account Go to “Create a GPT”
Login: Access the GPT builder by logging into your OpenAI account at chat.openai.com. You need a Plus, Teams or Enterprise account.
Go to “Explore” on the sidebar (right above your chat history) and then

Select “Create a GPT” at the top of the page.

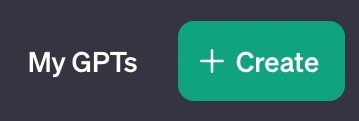
or in the store page, go to the top right corner and select “Create”.
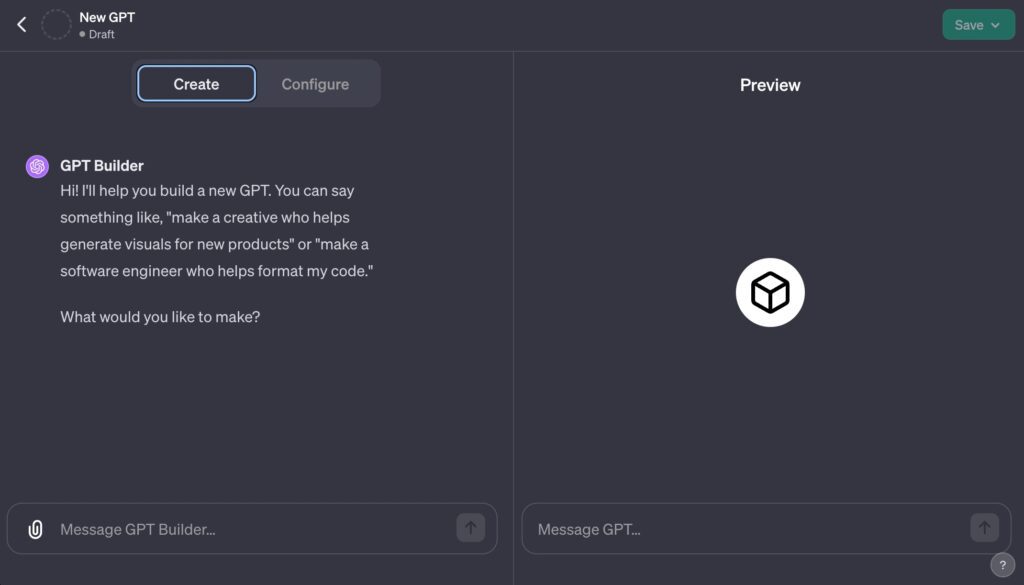
Step 2: Describe What the GPT Should Do in the Create Tab
In the GPT builder, you can use the Create Panel to describe your desired GPT to the GPT Builder, e.g., “a creative assistant for generating product visuals” or “a code-formatting software engineer”. When you provide directions, the GPT Builder will automatically create a title, description, instructions and a profile picture in the Configure Panel.
This step is optional. You don’t have to use the Create Panel, if you would like, you can go immediately to the Configure tab to build your custom GPT manually.
Important: Be aware that the GPT instructions and descriptions that are added in the configure panel can be manipulated and updated by the chatbot automatically when you interact with the GPT builder in the Create Panel. The Create tab is a good place to start building your GPT, but you may want to do most of the tweaking to the instructions in the Configure tab.
If you want to make sure your instructions stay intact while interacting with the GPT builder in the Create tab, it is a good idea to copy and keep your unique instructions text in a separate place in case they get overwritten.
Step 3: Build Your Custom GPT in the Configure Tab
Settings: Switch to the Configure tab for detailed settings.
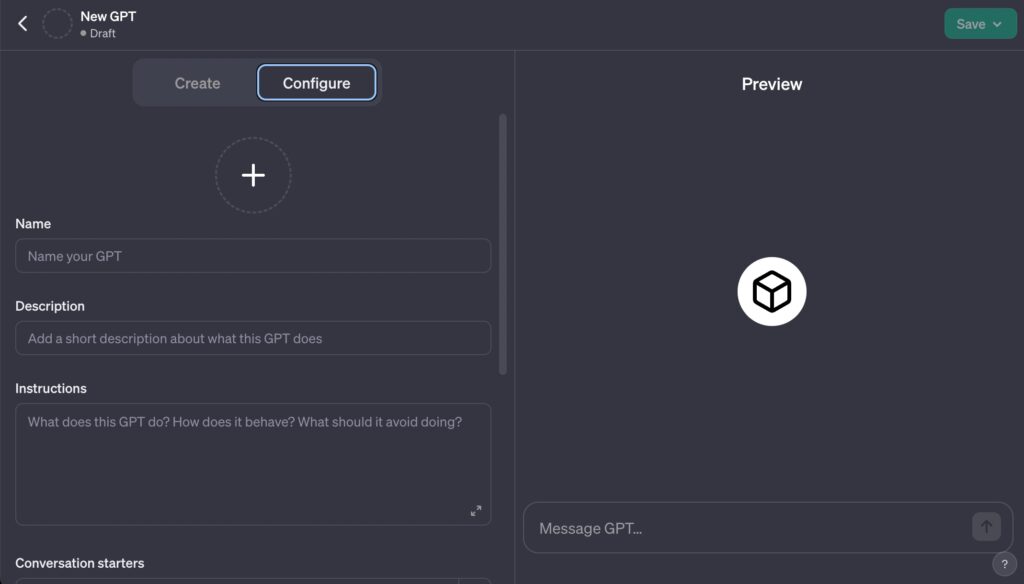
Name and Description: Assign a unique name and description to your GPT.
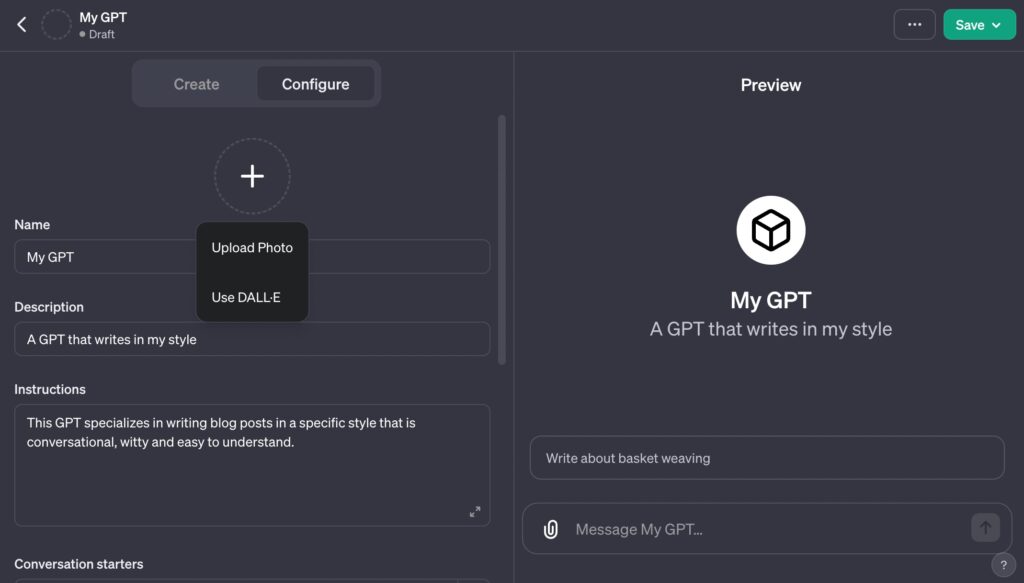
Profile Picture: Choose an existing image or use DALL·E to create one.
Instructions: This is the heart of the GPT. The Instructions field allows you to write specific guidelines on the GPT’s behavior and restrictions.
If you started by describing your custom GPT to the chatbot in the Create tab, you’ll see a decent version automatically written and populated by the chatbot here as “starter” instructions. These drafted instructions can and should be changed according to your own needs and specifications.
Great GPTs are given detailed instructions that provide specific guidelines on the GPT’s behavior and restrictions. It is what separates powerful and useful GPTs from weak and generic GPTs. Please note that the example instructions in the image below are not specific enough. Yours should include much more detail.
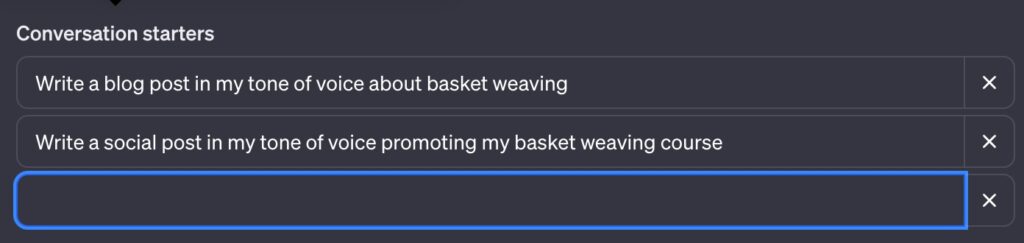
Conversation Starters: Add example prompts to guide user interactions.
Knowledge Sources: Upload files for your GPT to reference, enhancing its responses.
Capabilities: Enable advanced features like web browsing, DALL·E image generation, and data analysis.
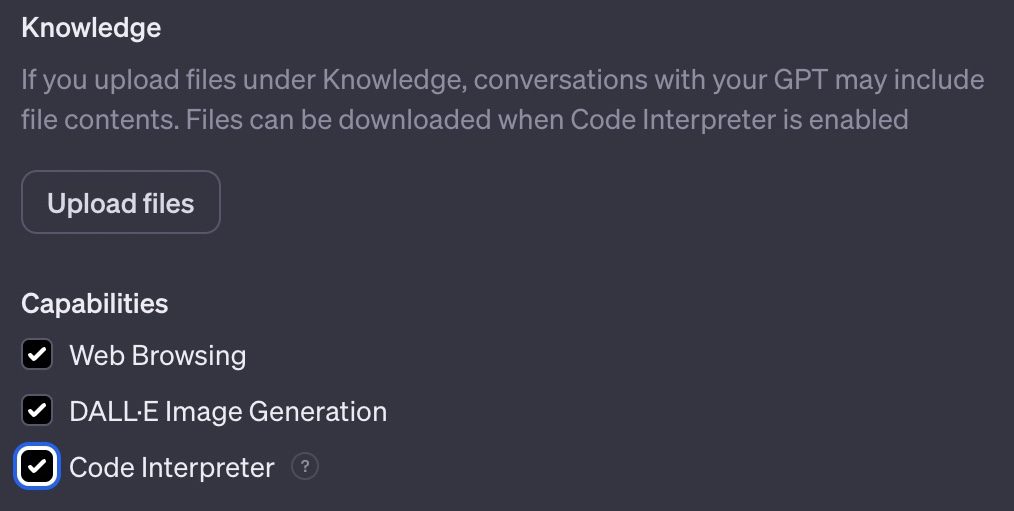
If you select Web Browsing, the GPT will be able to browse the web when prompted for specific up-to-date information or other information that isn’t in the base knowledge.
If you select DALL-E Image Generation, the GPT will have the capability of generating images when prompted.
If you select Code Interpreter, the GPT will have the capability of generating and running code. Code Interpreter enables the GPT to access databases you upload or point to, solve math problems, and more.
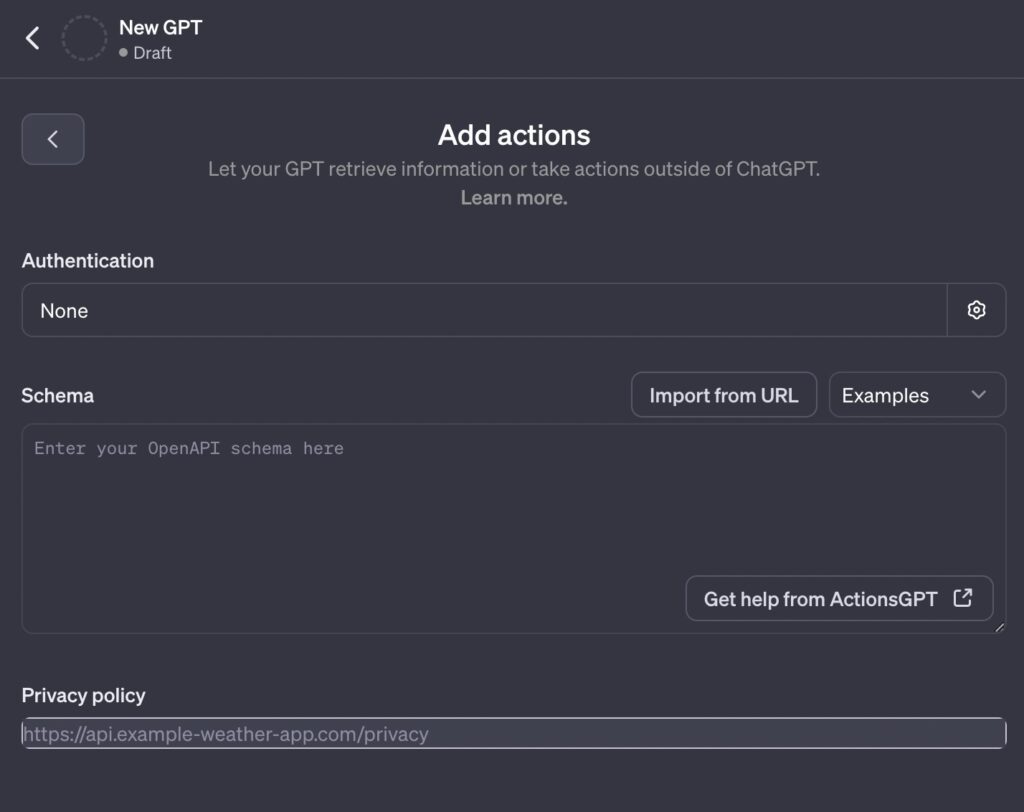
Custom Actions: Integrate third-party APIs or use existing plugin manifests.
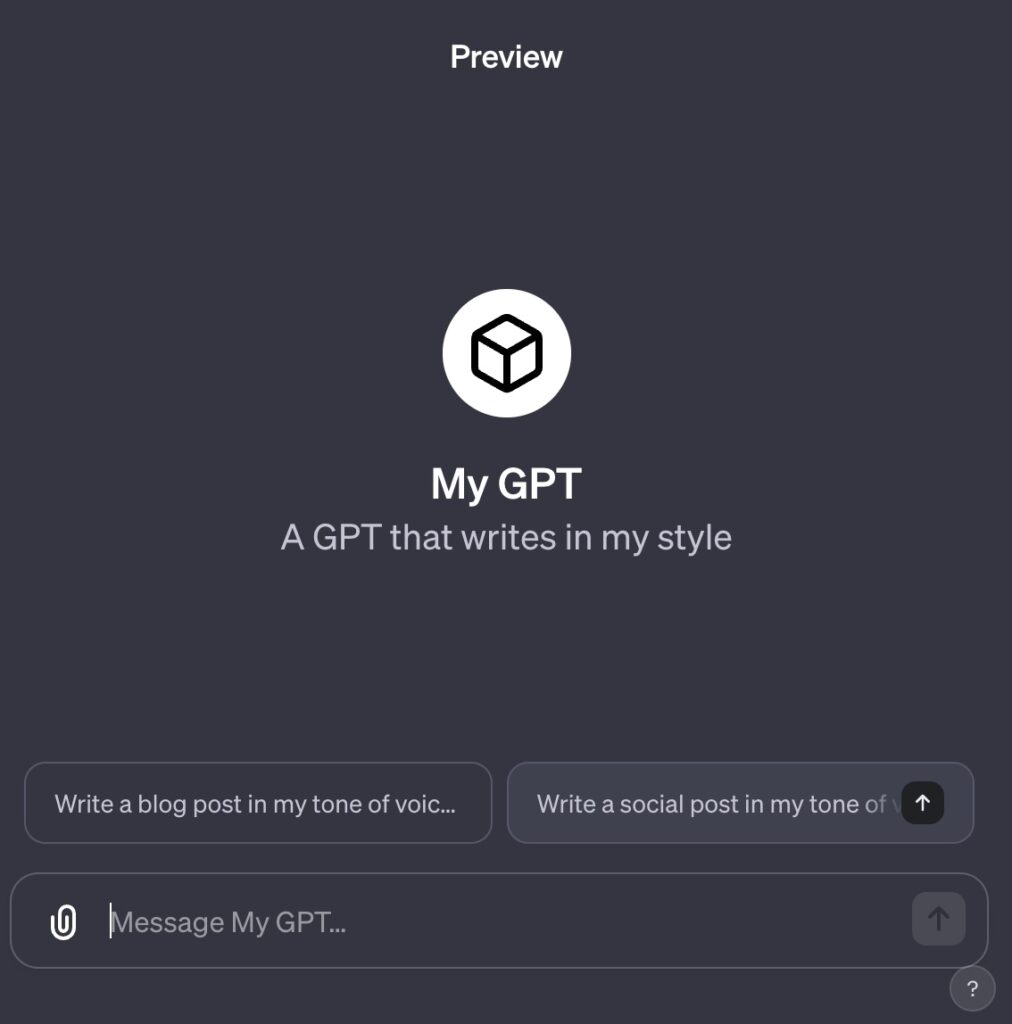
Step 4: Test Your Customized GPT
Test your GPT with the Preview chat area on the right side to see how it works in action. If needed, tweak your instructions and refresh to test how it behaves. It is a good idea to iterate and test multiple times before publishing. You can also return to edit the GPT after you save or publish it.
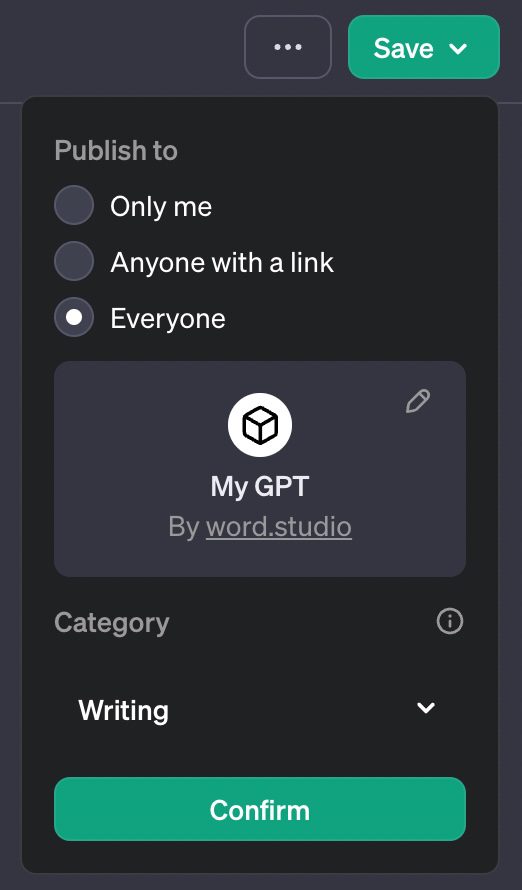
Step 5: Save and/or Publish Your Custom GPT
Publish: Click Save and decide who can access your GPT – just you, anyone with a link, the public, or, for Enterprise or Team users, anyone in your organization.
If you select Everyone, you’ll be able to choose a category for your GPT in the GPT store.
Regularly interact with and use your GPT to ensure it is performing the way you intended. You may need to edit it periodically to keep it working and you may decide to enhance it with user feedback.
Sharing and Managing
Share: Use the “Copy link” option to distribute your GPT.
Edit: To modify your GPT, use the Edit option next to it in the Explore section.
Delete: If necessary, delete your GPT from the More options (…).
Start Using the GPT Builder
With OpenAI’s GPT builder, creating a custom GPT is a straightforward process, enabling users to tailor AI to their specific needs. Whether it’s for learning, business, or entertainment, the possibilities are vast and diverse.
If you decide make your GPT public, it will be searchable in the ChatGPT store. For further publicity, you may decide to list in various GPT directories to help other people discover it. You can start by submitting it to our GPT Directory for consideration. Please note that your GPT must be unique and significantly useful compared to ChatGPT base model functionality to be included in the Word.Studio GPT directory.